
Now that I have got your attention , Hello and welcome to excerpt 007 of the HX-files .
I would like to take some time to talk about some construction tools I have used when making some front panels and/or boxes (and covering my mistakes).
Safety first.
 As with all tools you should always take care and wear the appropriate safety gear. Some people may laugh at you , but if anything happened they would be the first to say that you are old enough to know better and you should have worn some safety gear.
What to buy.
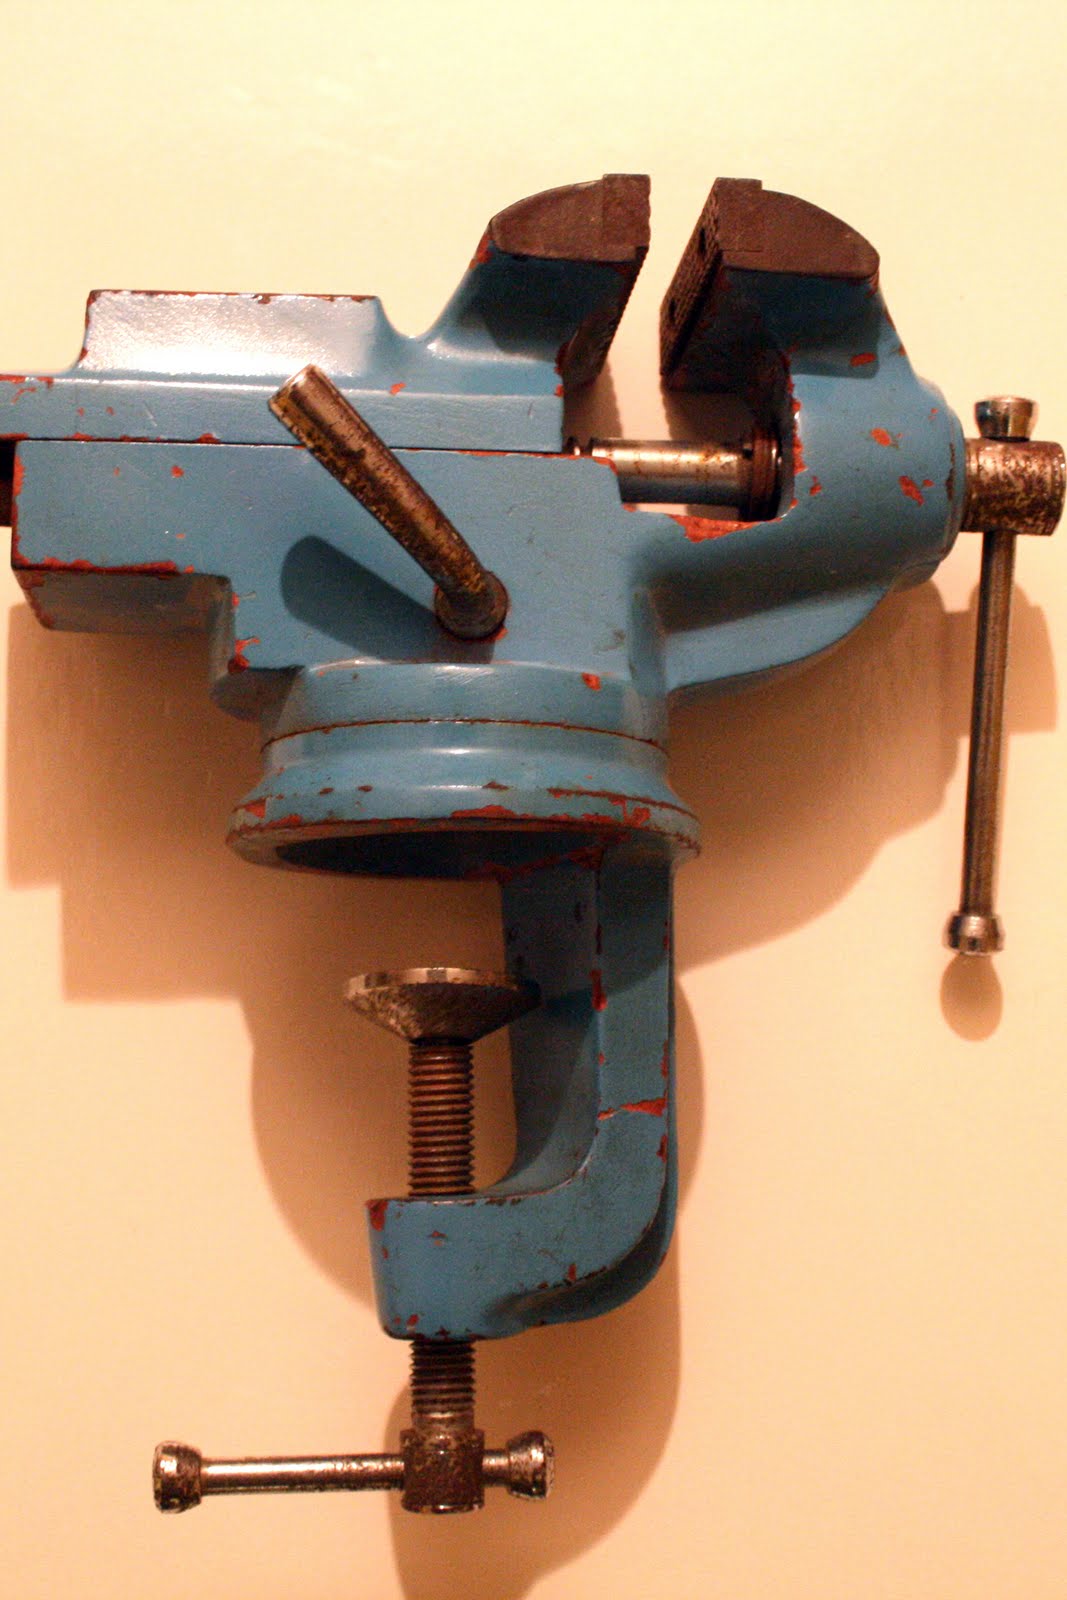
What tools to buy when you start on home constructing is a tough one, as with test gear you don’t want to spend a fortune on something you only use once in a blue moon.The first item I bought was a small bench vice (photo 1 on right ). It has jaws that are 10cms (4 inches in old money). This could not only be used for holding items but I also use it
for bending metal pieces to give a straight edge when I was making a panel or box. I also use two pieces of angle in the jaws of the vice to give me more of a surface area to bend a bigger piece of metal. The jaws are each held on by a couple of screws and it is easy to change them to put on the angle instead of the original jaws which have a milled face for grip and would mark the surface of your work piece. (Some of you may remember the bench vice from your woodwork classes where you could replace the jaws) .Measuring, marking and hole cutting .

 In photo 2 above left,you can see some marking tools I use mostly for marking out projects. Two items not in photo 2 are some masking tape and a pencil . With the tape you can cover the panel for marking it out and to protect it .In all but the simplest of projects I have worked on, I have always made a template ofthe front panel in either card or hardboard, as it can be hard to get (if not impossible) a replacement panel if a mistake is made .What I do is take a trip to the local recycling centre and go to the spot that they keep the computers and ask for the panels off them. Then I can cut the panels down to a more manageable size and later log them into the stores department (the shed).
 Photo 3, above right, is of some hole cutters.The ones at the top require a pilot hole first and then you place the bolt through the outer part and the inner one is treaded so when you tighten the bolt it pulls the two parts together and through the panel and leaves a smooth finish. The ones at the bottom use a drill bit in the centre but when the hole is made the edges are rough and would need filing for a smooth finish. Depending on the size of the hole you need you could get away with a drill bit and file it out the size you require. You could also try a drill bit called a cone cutter. They are a tapered drill bit normally from 3mm to 25mm,but there are other sizes , Some are also stepped every few mm, this is the type I like as you have the steps to stop you going too large. As with the other type it could beto easy togo to large andyou may have dip into your spaes department.

Files.
As with all tools you can buy Rolls Royce or Morris Minorquality. You could do worse than going to the likes of your nearest Aldi/Lidl when they have their hardware sales (but as with everything else, you get what you pay for and it pays to get the best you can afford). Photo 4 is of some files that I use and of course you have to take care when filing not to turn that circle into an oval. If that happens it could ruin your work as the hole becomes to big for use, unless you can go up to the next size up of switch or led . (it pays to have some spare parts) .
 |
| Various sizes of LED's |
And finally…..
Thanks to the Thos EI2JD photo studio again for taking the picturesfor me.
Also, I would like to wish you a very Happy Christmas and a Prosperous New Year and that all the bargains you get at therallies in 2010 work .
May all your signals be P5 .
73 from Pat EI-2-HX.
No comments:
Post a Comment